Restoration Hardware Door Mat DIY
There was a time when I might not bat an eyelash to pay whatever the cost might be for a personalized door mat. That time, however, was prior to marriage. With a husband that would probably go a tad bit bonkers if I paid $60-80 (sale price) for a door mat bearing his name, I opted to refrain from ordering the most lovely Restoration Hardware monogrammed door mat and instead attempted to DIY it.
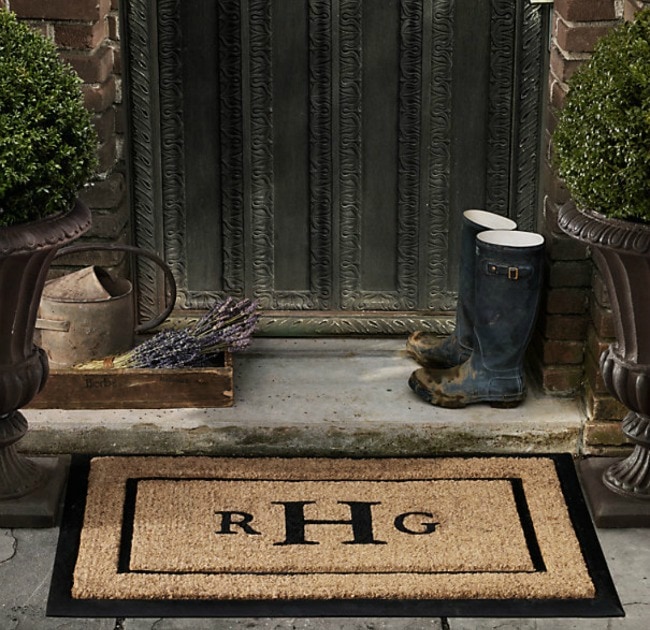
Restoration Hardware:
And mine:
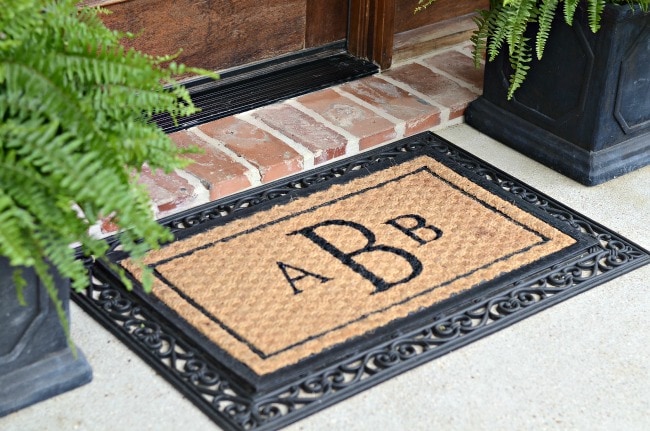
Now obviously there are a couple of differences. For one, theirs looks a little fluffier and I’m willing to bet it’s not merely stenciled on with paint. Secondly, my outer letters could’ve been a little thicker as my “A” looks a little sad. HOWEVER, I spent a whopping $10 on my rug. That’s right.
$10!
For $10 I could make another door mat if those letters bug me too much and still not feel guilty over the cost. In fact, I could make 6, count them, SIX door mats and still not spend what the RH door mat costs and I bet by the 6th time, I’d get it darn near perfect.
But you know the best part of this story?
My neighbor said to me “Aimee, I love your new rug. You order the nicest things.”
Ordered.
Ha! You should’ve seen her face when I said I made it.
To make your own monogrammed door mat, you’ll need the following:
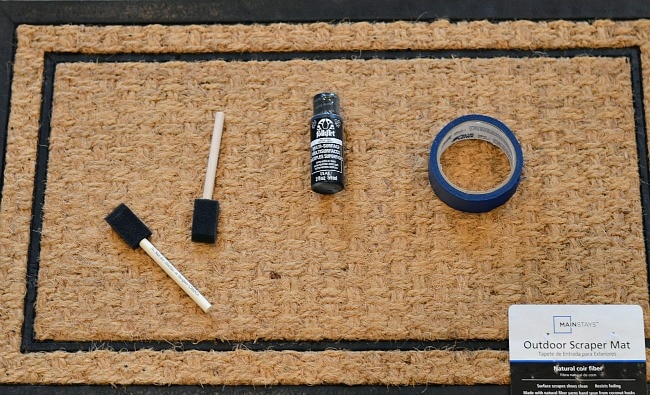
Door Mat (I found mine at Wal-Mart for $6.97)
Painters Tape
Indoor/Outdoor Craft Paint
Sponge Brushes
Not shown: Card stock, Sewing Pins, Ruler/Measuring Tape
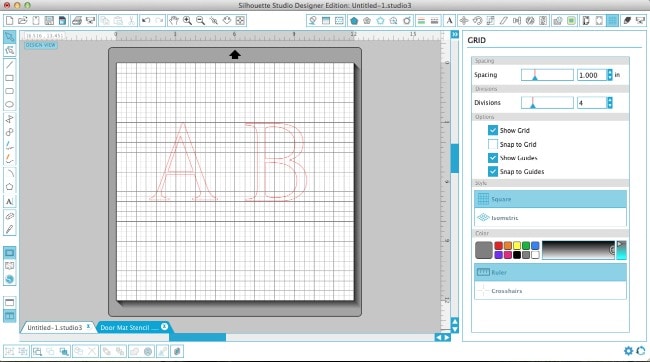
I don’t think you need a tutorial for this, but you’re going to measure your door mat and then enlarge your font in your Silhouette to the desired size. I didn’t even use a downloaded font, just used the Apple LiSung font that comes installed on your Silhouette.
I like to keep things easy peasey.
Print out your largest letter on some heavy card stock . You’re going to discard the actual letter and use what’s left over saving the interior- in my case, the two circles within the “B”.
Repeat for your smaller letters.
I used the grid to make sure my letters were the exact same height.
Now, as I was doing this project I started thinking that I could’ve saved myself some effort had I had some adhesive card stock. I could’ve stuck it on my rug and skipped some of the taping. You could also use vinyl, but I’m so stingy with my vinyl that I’d rather use some .99 card stock. I also learned that there’s stencil vinyl- just might try that next time.
You do what’s easiest for you!
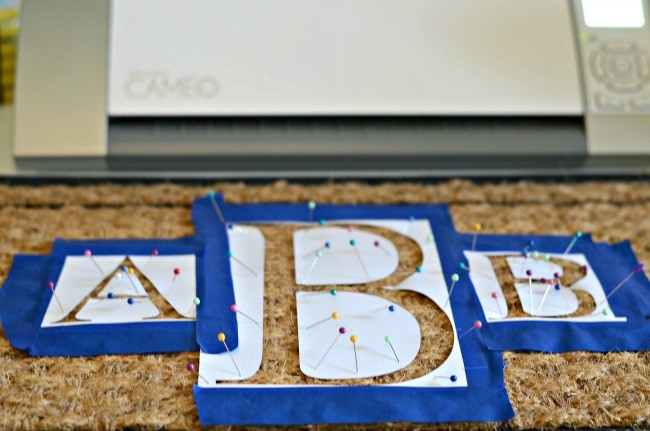
Using painters tape, tape down your card stock stencil. I like to also pin it down just to make sure no paint seeps through the edges. TIP: If you pin at an angle, it makes it a little easier to maneuver your paint brush and keeps the tops of the pins somewhat out of your way.
Dab, dab, dab your paint.
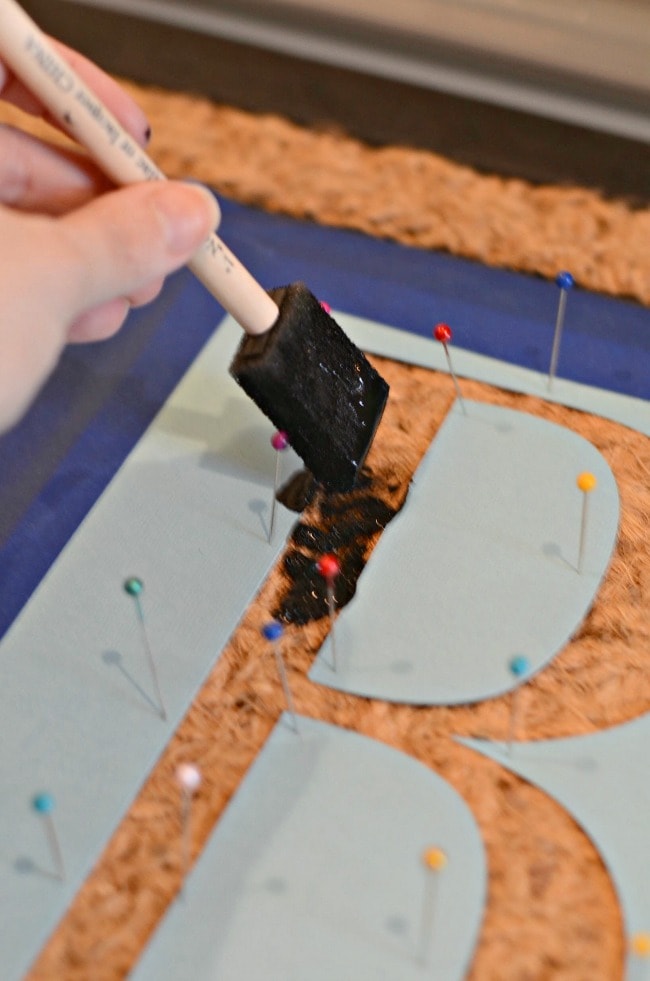
Allow to dry and apply a second coat if necessary.
Remove your stencil and painters tape and voila.
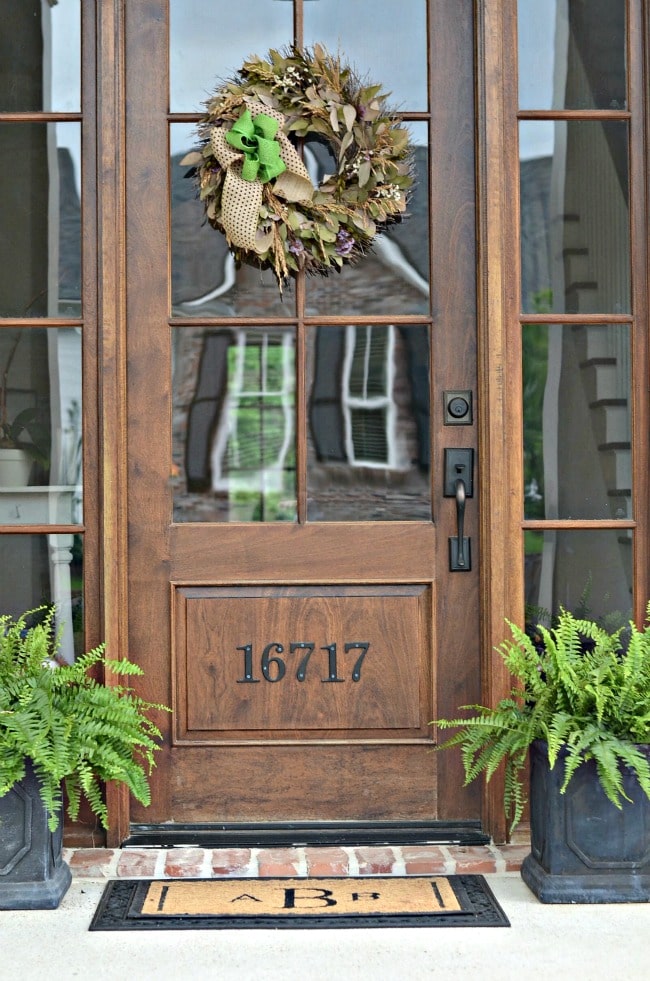
Prepare for neighbor compliments!
Note: I have my rug on top of a rug holder/gripper thing. The actual rug does not include the scroll.
Happy Monogramming!!