The Elves’ 12 Days of Christmas Cookies (Day Seven)
Do you know what’s better than one baking elf?
Two baking elves!
And do you know what’s better than two baking elves?
Two baking elves with monogrammed aprons on!
We’re now over halfway finished with The Elves’ 12 Days of Christmas Cookies, and can I just say that I’m going to be sad when elves aren’t hitting my inbox each day?
Recipes and cute little posed elf photos like the ones from my dear friend Sandy, otherwise known in blogland as “caramel queen”.
Sandy is the owner of Firefly Confections, the spot for all your gourmet caramels needs.
And when I say “needs”, I should also mention they need disclaimers.
I am quite certain that I hold the world’s record for quickest consumption of her 1 lb boxes.
It’s sad how quickly I can eat them. Even sadder that I hide them from my husband so I can eat. them. all. by. myself. I’m the reason she needs a disclaimer.
Sandy can be also credited for the collaboration of the first ever elf sized apron that happened last year.
It happened through a text message conversation where she asked if it was possible and I said something like, “oh, I bet I can make that happen”.
I made her Buddy an apron, popped a bow tie on and posted her elf on Facebook. Now here we are again, one year later with 50+ more apron loving elves to join our circle.
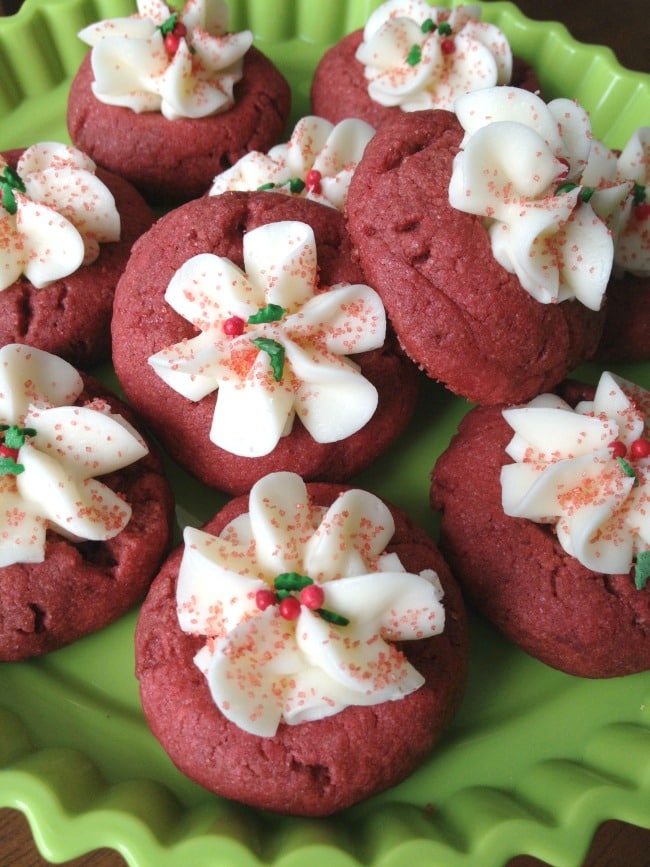
I’m thrilled to share Buddy & Ella’s Red Velvet Thumb Print Cookies !
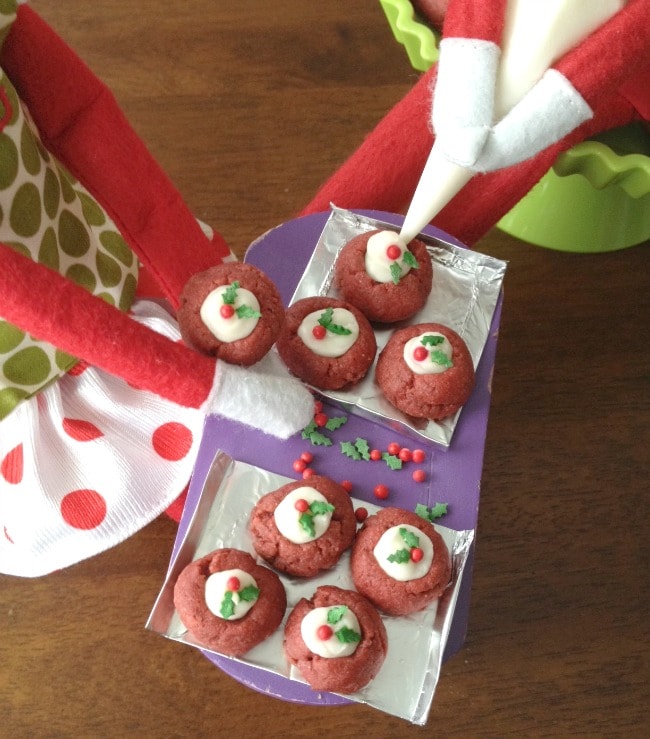
And just look at how much of a gentleman Buddy is….
He’s piping the tiny baby elf cookies for Miss Ella.
Sigh.
Elf love.
- Cookies:
- 1 cup butter, softened
- 1 cup sugar
- 1 egg
- 1 tsp of Red Velvet flavoring or 4 teaspoons red food color
- 1 teaspoon vanilla
- 2 1/2 cups Gold Medal® all-purpose flour
- 3 tablespoons unsweetened baking cocoa
- 1/4 teaspoon salt
- Cream Cheese Frosting:
- ¼ cup (half a stick) of butter – softened but NOT room temperature
- 4 oz of cream cheese softened
- 1sp Vanilla
- 2-3 cups powdered sugar
- Heat oven to 350°F. Line cookie sheet with cooking parchment paper.
- In large bowl, beat butter and sugar with electric mixer on medium speed about 2 minutes or until creamy. Stir in egg, food coloring and vanilla until well blended. On low speed, beat in flour, cocoa and salt until blended.
- Shape dough into 1-inch balls. On cookie sheets, place balls 2 inches apart. Press thumb into center of each cookie to make indentation, but do not press all the way to the cookie sheet.
- *To make Elf size cookies, roll balls smaller and use the end of a chopstick to make the indentation*
- Bake 12 minutes or until set. Cool 2 minutes; quickly remake indentations with end of wooden spoon, if necessary. Remove from cookie sheet to cooling rack. Cool completely, about 10 minutes.
- Cool completely and pipe Cream Cheese Frosting in the centers of each cookie. Top with sprinkles/colored sugar
- Cream Cheese Frosting:
- Using an electric hand mixer, on medium speed, blend together butter and cream cheese until smooth.
- Add vanilla and mix well
- Gradually add powdered sugar, mixing well, until you have reached your desired consistency.
Surely you’re not joining us for the first time today, but if you are here’s what you’ve missed:
Day One: Ella’s I Heart Christmas (Ornament) Cookies
Day Two: Sprinkles’ Sugar Cookies
Day Three: Buddy’s Gluten Free Peanut Butter Chocolate Chip Cookies
Day Four: Fred’s Chocolate Pecan Lace Cookies
Day Five: Princess E’s Stained Glass Cookies
Day Six: John’s Chocolate Cheesecake Brownies
Day Eight is going to be great, see you then!


omg I’m dying over these tiny elf-sized cookies! so cute!