Foyer Makeover & Martha Stewart Vintage Decor Paint DIY
I promised you last week I’d show you my Foyer, and while one of the hardest rooms to photograph (didn’t I say that about my kitchen, too?) I’m delivering on my promise.
So far, we’ve toured the Living Room & the Kitchen.
And I hear what you’re saying, why is she calling it a Foyer Makeover & Martha Stewart Vintage Decor Paint DIY rather than a Foyer Reveal? Isn’t her house brand new?
And you are correct, but the problem that I was having is that I had specific ideas in mind for what I wanted to do with the Foyer and nothing, and I do mean nothing, was standing out to me in the stores.
Our last house didn’t have a foyer, much less a gigantic entry space so decorating this spot has been most challenging.
And since Pinterest helped me build the house, I even created a Foyer board hoping it would help me decorate.
It did, sort of, but only a little.
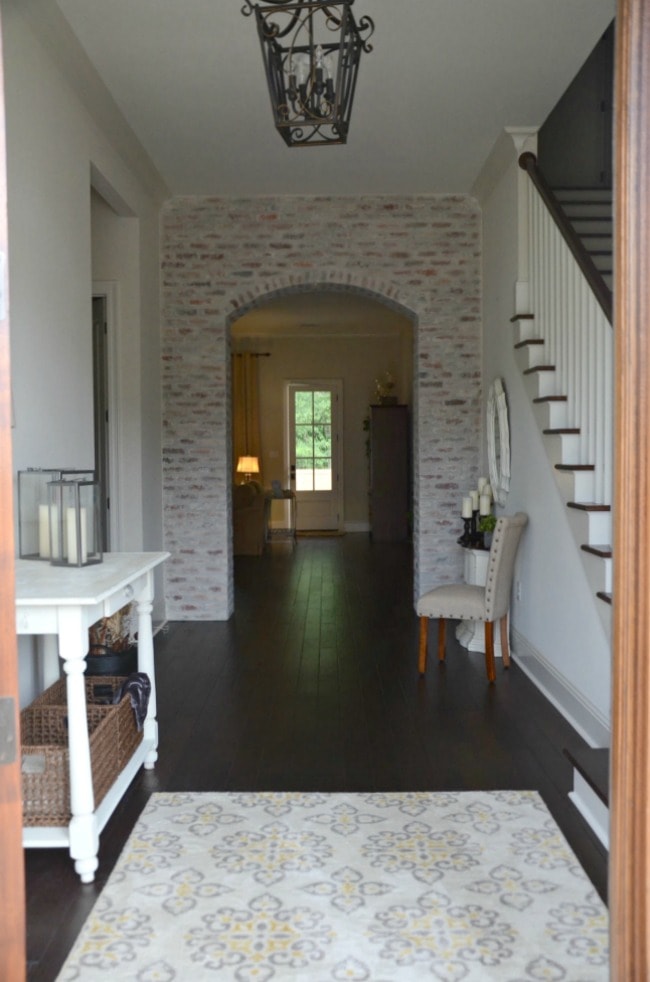
No pressure that it’s the absolute first thing you see when you come to visit me. I know, I know- it’s why they call it an entry way.
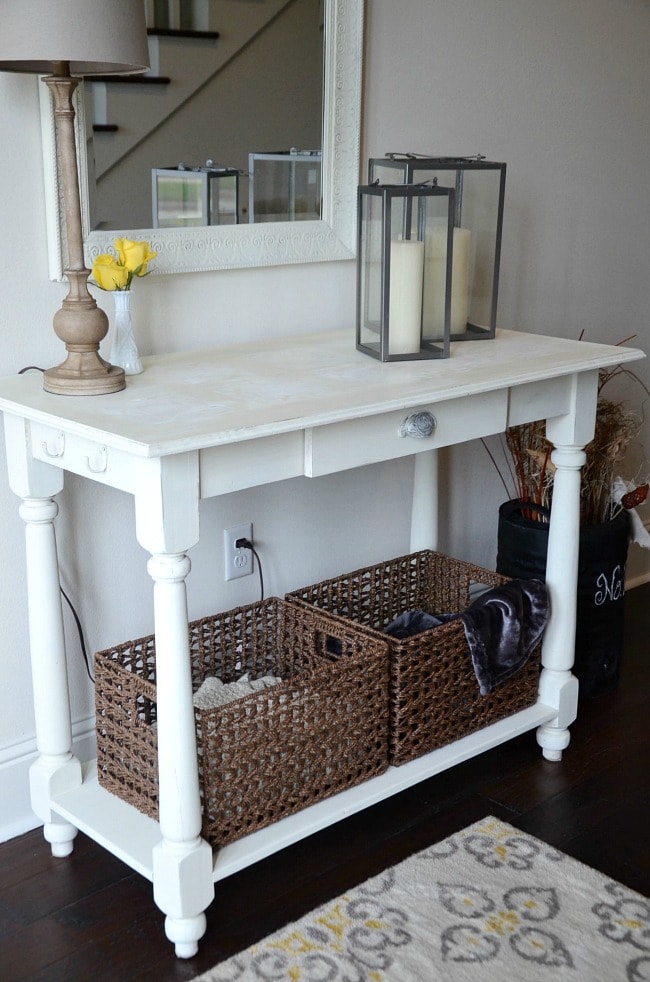
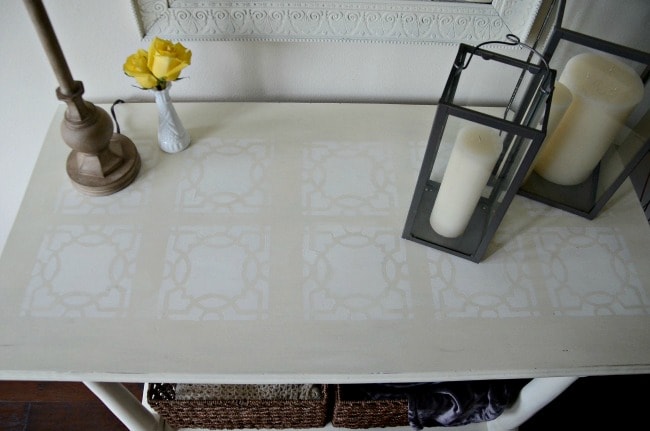
(PS: The top of the table looks like a giant blur in photographs and not at all what it looks like in person. I’m gonna show you the top in a moment so you know I’m not pulling your leg).
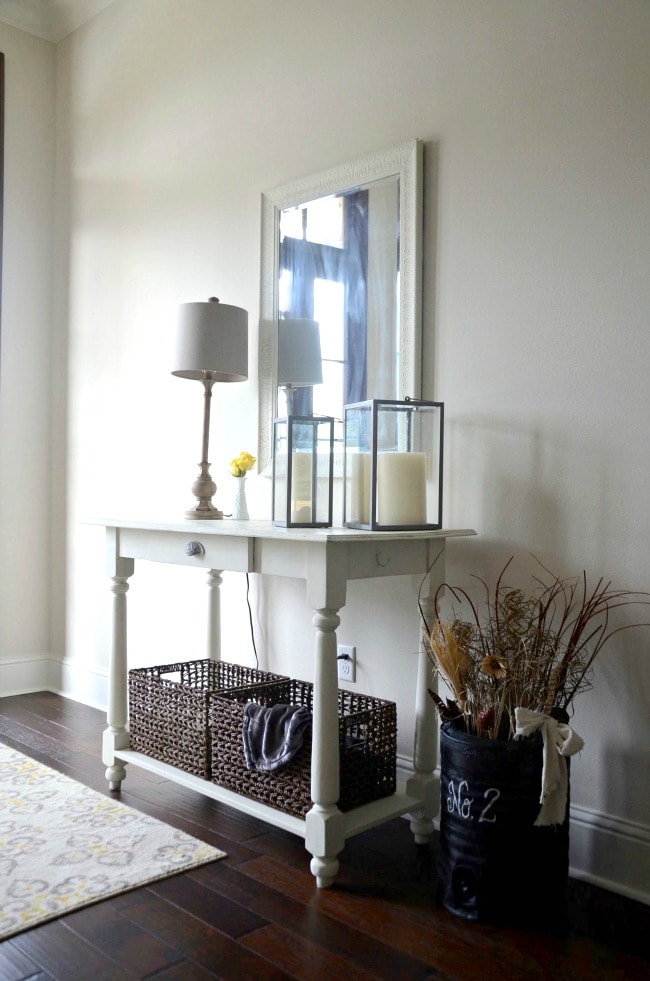
Also? Pledge Multi Surface should never ever be used on glass prior to photographing. I pinky promise I cleaned the mirror.
Sigh.
But before we get too carried away chatting about the Foyer reveal, let’s take a gander at a before photo of what I was working with.
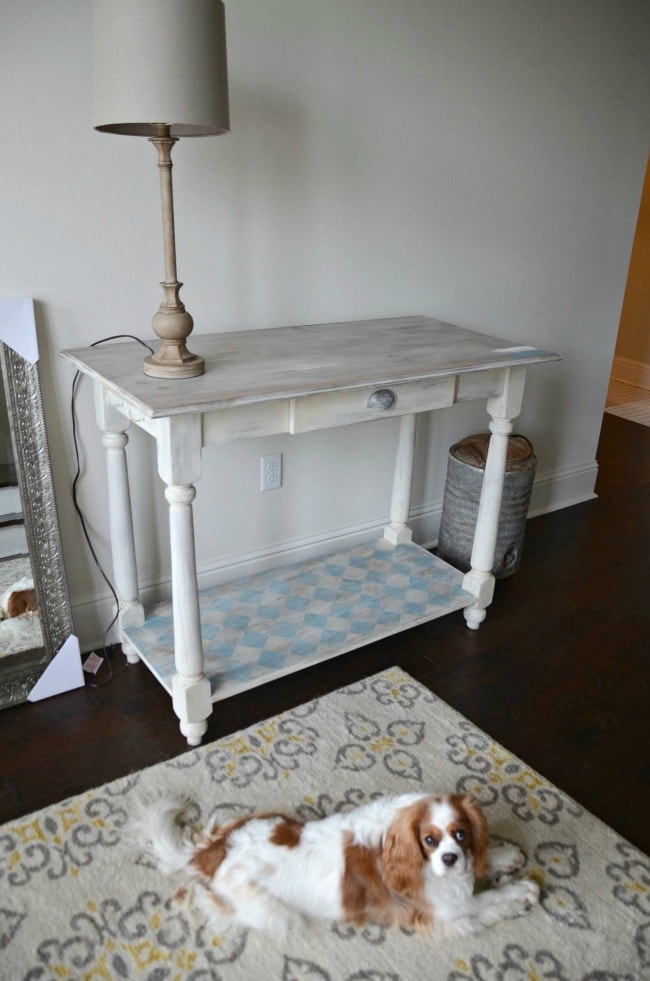
Hi, Stella. Don’t you look most impressed about what’s about to go down.
The foyer table was found a local antique shop, and the same one where this took place.
I like pieces with stories and really wanted something handmade locally. This piece was actually made by a former back in the day LSU & Denver Broncos player and I liked the legs on it. And that it had a drawer and a place to put baskets- obsessed with baskets.
I wasn’t super crazy about the paint job, though.
(The two color swatches on the right side were from me).
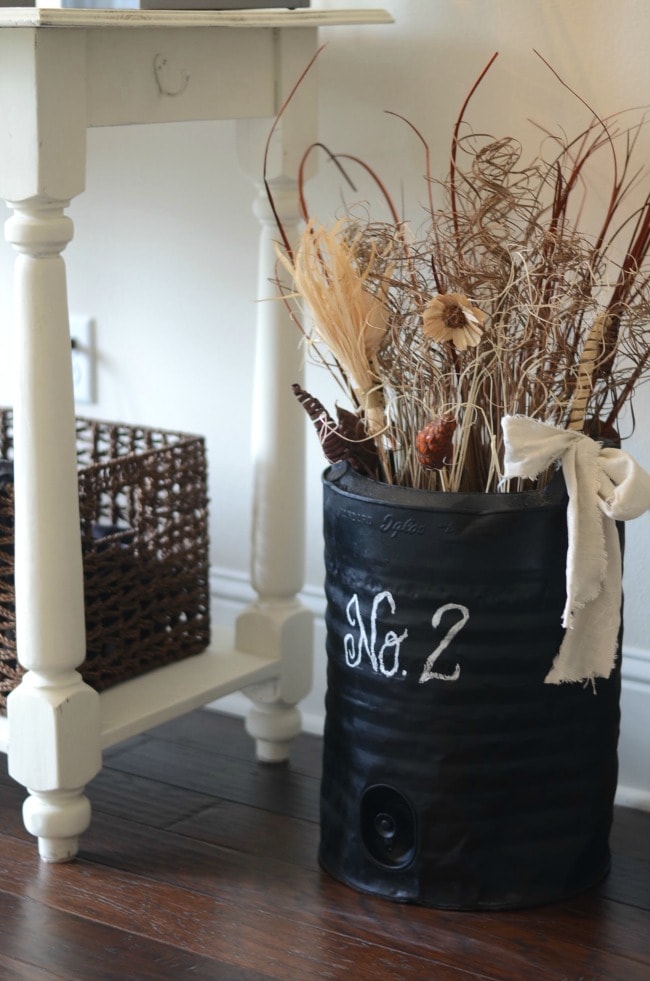
The vintage metal ice cooler also came from Haute Niche as well and was a Pinterest makeover W-I-N.
The silver mirror came from Ross- $35, y’all.
The lamp I already had.
So I had a couple of things that might work in the space but needed A LOT of help.
And like magic, Martha Stewart Crafts (oh, that Martha) came out with Vintage Decor Paint and stencils and kindly sent me this fun stuff in the mail.
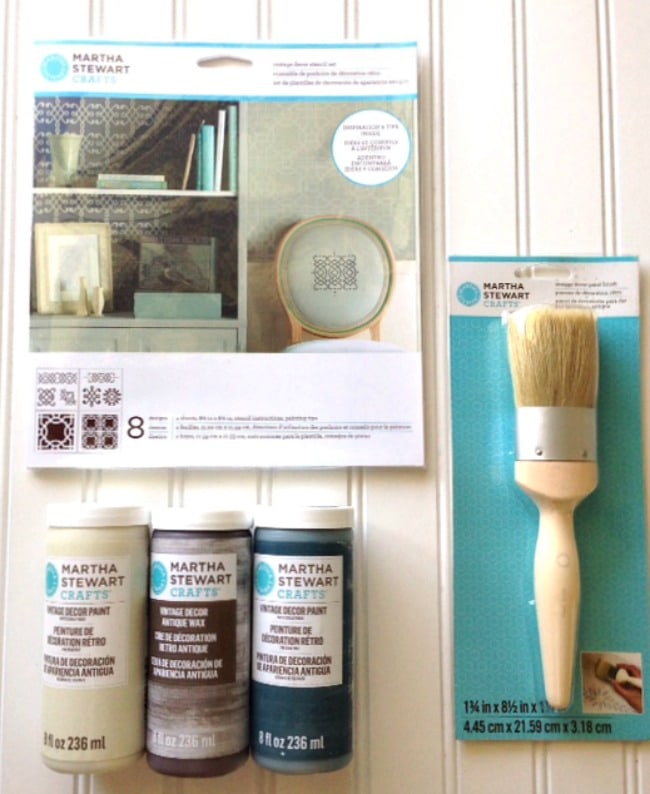
In case you’re wondering, vintage decor paint is a matte chalk finish paint.
No priming. No sanding. Just paints right on.
Now, my first thought was to paint that foyer table the dark blue color, River Rock and stencil in the creamy Linen.
But I did the paint sample on the corner and my heart started beating really quickly and I was getting anxious.
I have a huge problem with color.
Just. Can’t. Seem. To. Do. It.
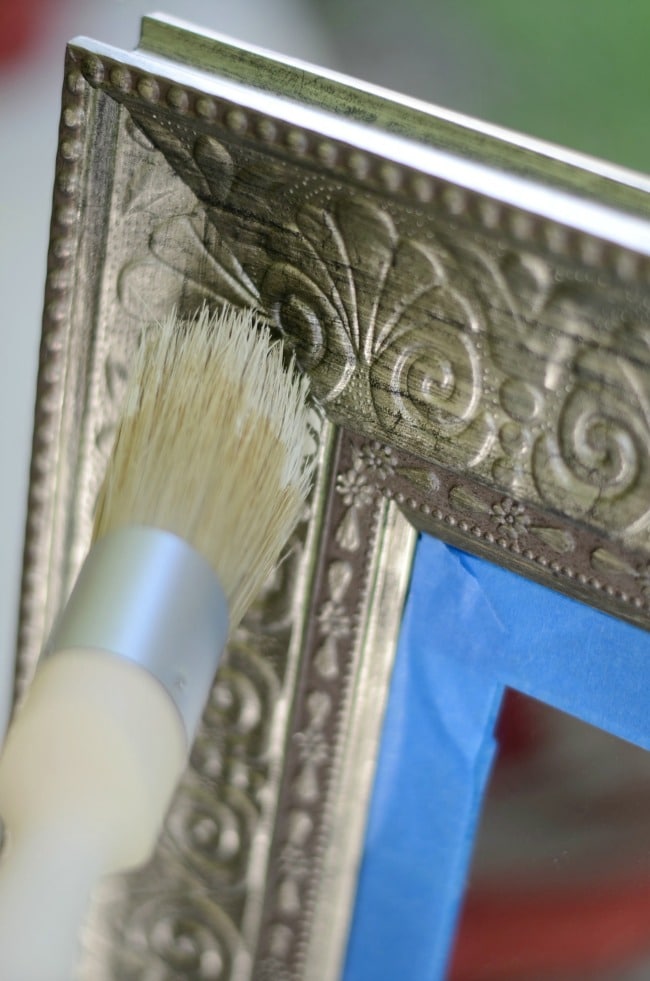
Therefore, I painted both the mirror and the table the Linen color and stenciled in a brighter white (my house’s trim color). Tone on tone. Aaaahhhh, the heart is back to beating normally.
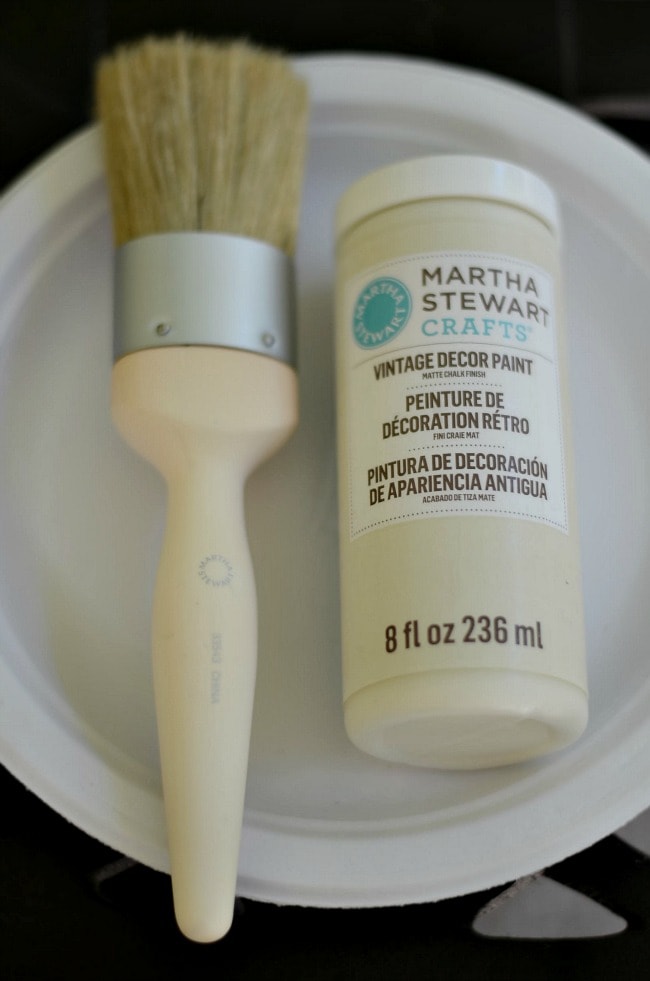
Let’s take a photo journey on how I did it, shall we?
Mirror, mirror on the wall, who’s the fairest Cavalier of all?
Stella.
Duh.

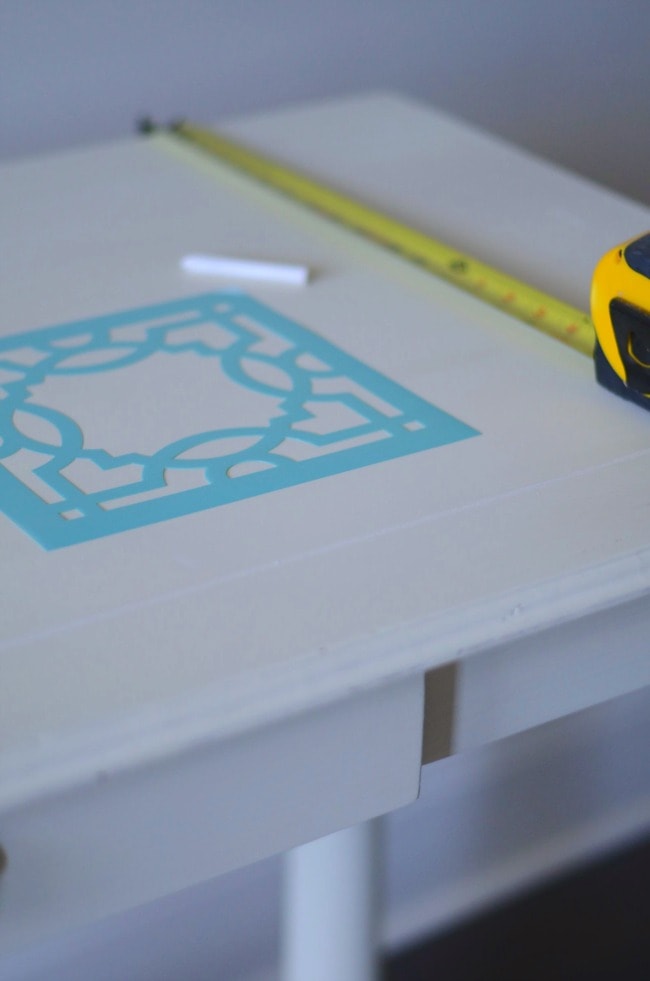
I have never in my life stenciled (and this project may reflect that), but I found that if you pre-plan your stenciling it will make your project go smoother.
Plan out how you want to arrange your pattern and measure it out both top to bottom and left to right. Chances are your furniture pieces aren’t going to just magically be the same dimensions of say, 5 stencil lengths.
I measured, and chalked lines to keep me straight and to let me know where to place the next stencil.
You’ll see I didn’t connect the stencils and instead just spaced designs.
You could totally make a cohesive stencil if you wanted.
Once you’re done, you just wipe the chalk marks off.
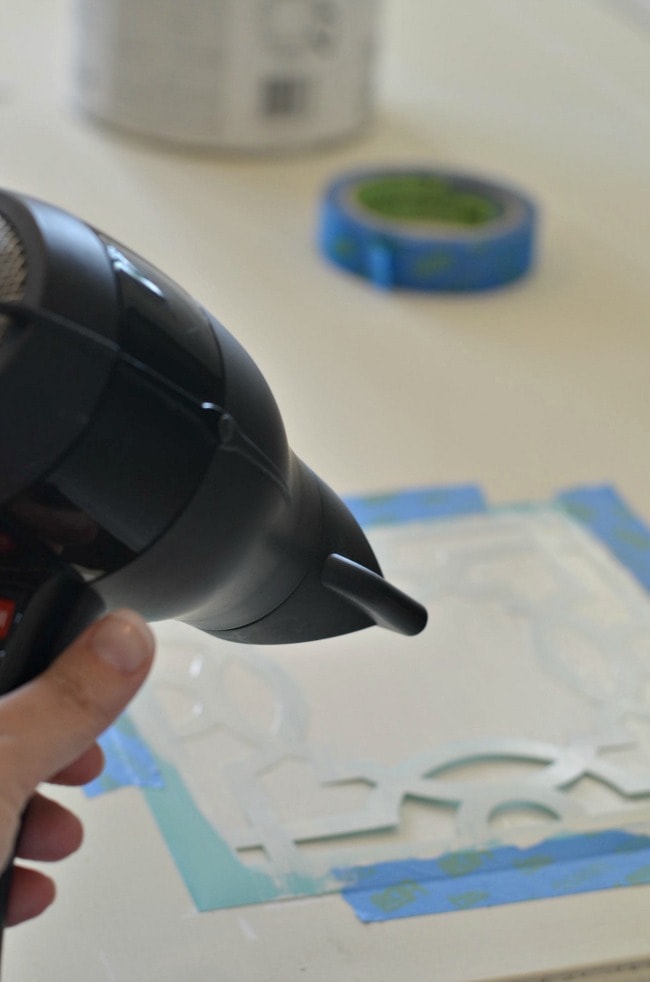
Another valuable tip I learned in the stencil instructions, is to have a hair dryer nearby.
It speeds up the drying time so you can reuse your stencil. Otherwise you’d need either multiple stencils, or you’d be taking for-ever to complete your project.
Now, I distressed mine a little because I wanted it to look a little more worn.
This will mean it will look great in person, and photograph like poo.
Distress at your discretion.
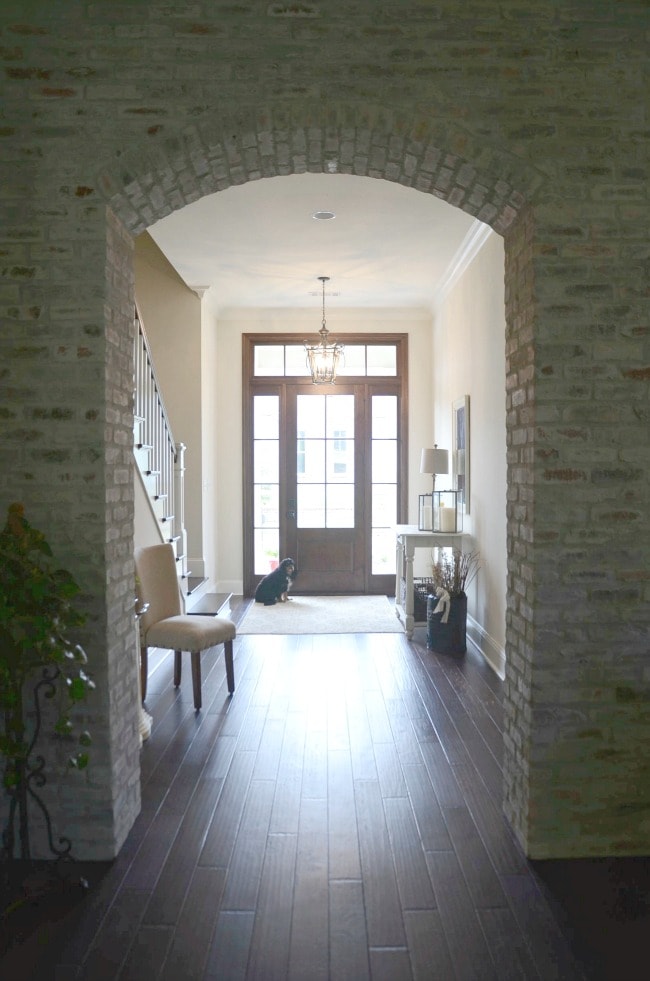
And here’s the entire room again.
Oh, hey Milo!
The entry table on the right belonged to my grandmother and was also chalk painted a while back, but that’s a story for another day. It may not stay in the room, because with 11 foot ceilings I’m not sure you should have 2 mirrors opposing each other. Bad feng shui? Not sure. But not sure I don’t need more over there filling up that wall. I digress.
I bet I know what you’re thinking. “I had no idea Martha Stewart had a chalky finish paint line?!!”
Is this new?!?
Why yes, yes it is!
And just for you, I’m including a coupon for 25% off at Michaels!
Want to watch a video on how to apply the vintage decor paint? Well, here you go:
And to connect with Plaid Crafts online:
Plaid Website: http://www.plaidonline.com/
● The Plaid Palette Blog: http://www.plaidonline.com/blog
● Newsletter: https://www.plaidonline.com/craftnewslettersignup.aspx
● YouTube: http://www.youtube.com/plaidcrafts
● Facebook: https://www.facebook.com/InspiredByPlaid
● Instagram: http://instagram.com/plaidcrafts
● Twitter: http://www.twitter.com/plaidcrafts
● Google+: http://plus.google.com/+PlaidOnline
Tired of seeing my house? Have another room you want peek inside?
Are you as obsessed as I am with painting all the things?!?!?
This post is part of a paid campaign with Plaid Crafts and Blueprint Social. The opinions in this post are entirely my own and I only work with brands I personally stand behind.
I’m laughing at your comment about color making your heart race! You are too funny, but your all white house is just beautiful. Each time you say a new room is up, I race over here. I have loved watching it come together!
So ridiculous, right? Thanks for the positive feedback regarding the house!!!
That brick arch way steals my heart whenever I see it…such a statement! You give me hope to transform accessories and make them ‘mine’ by repainting them. A friend recently did that with bookends and they look fabulous!
Oh, Shannon it my most favorite thing. We originally were going to paint it all white, then saw it natural and I liked that too, panicked it was too late and settled on the white washed/distressed look. And yes, paint all the things!!!!! Keep the story but update the look!
I just want to pay you to come decorate my house. Everything looks amazingly perfect and my house looks like a bunch of “hand me downs” threw up in it. I’m in love with the table!
THANK YOU!!!! I will come over and paint all the things!!!!! One of my tables + mirrors was a hand me down- I just gave it new life.
Totally beautiful, especially the brick archway! Is there another brand of paint that works as well as the brand you used? (I try not to use MS brand unless I absolutely have to.) The stenciling on the table top was terrific!
Thank you so much, Cynthia! The brick archway is one of my most favorite parts of the house. Annie Sloan paint would work like a charm and is typically what I would use- the MS brand is much more accessible & affordable though. 🙂
Pretty! This was a really wonderful post. Thank you
for providing these details.