Make Your Own Easter Bunny Cocktail Napkins
Sometimes you get an idea in your head and you think it’s going to be oh so cute and it only disappoints you. Other times, your idea turns out way better than you expected and you run around the house saying “ooooh yeah, ooooh yeah, look at my bunny napkins…. ooooh yeah”. Needless to say these easy Easter Bunny Cocktail Napkins had me singing and dancing like a wild woman. And lucky for you I’m going to show you how to make your own Easter Bunny Cocktail Napkins so you can sing and dance, too!
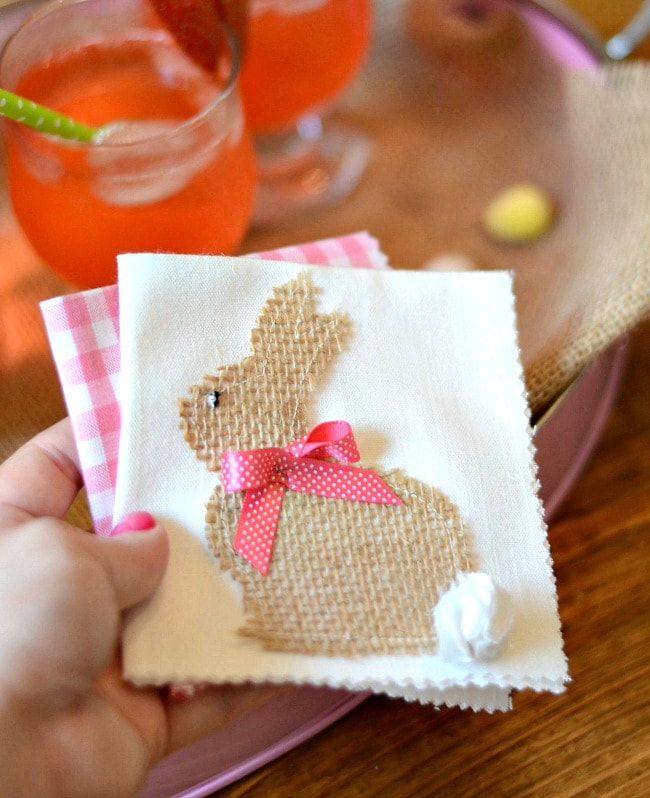
Easy peasey and can totally be no sew if you want them to be!
Here’s what you need:
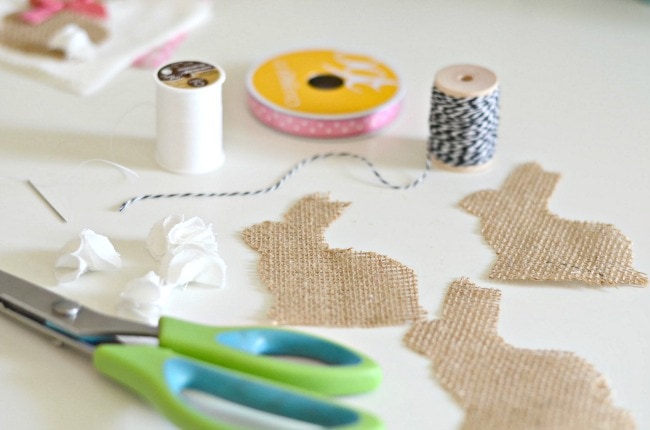
Sewing machine (or you could hand stitch!)
Fabric (cocktail napkins)
White Fabric (bunny tail)
Pinking Shears
Needle & Thread
Burlap
Wonder Under (if you aren’t sewing)
1/8 inch ribbon
Bakers Twine (or little black beads)
Iron
I’m not a professional cocktail napkin maker so I just sort of winged it when it came to sizing my napkins. You want to cut your fabric into squares (mine are 10×10, 5 1/2 inches folded ). Next fold the napkins in half, iron to create a seam, fold in half again, iron. Take your pinking shears and cut the edges- this will keep your napkin from raveling all over the place. Continue with the rest of your napkins.
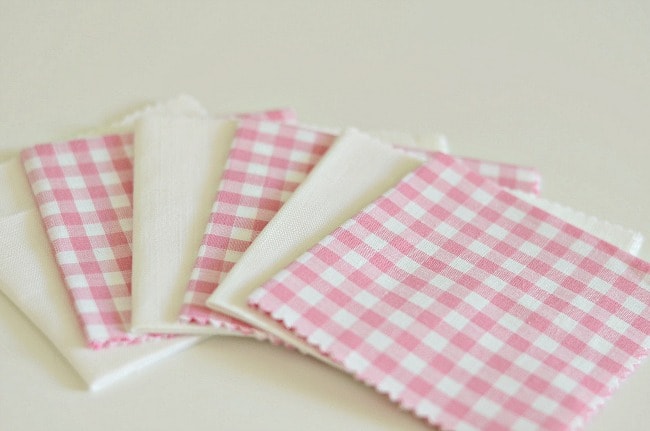
I opted to do sets of 3 gingham napkins and 3 bunnies. You could do all bunnies if you want. Or bunnies on the gingham. The options and choice is all yours!
Now, print and cut the small rabbit to use as your bunny template.
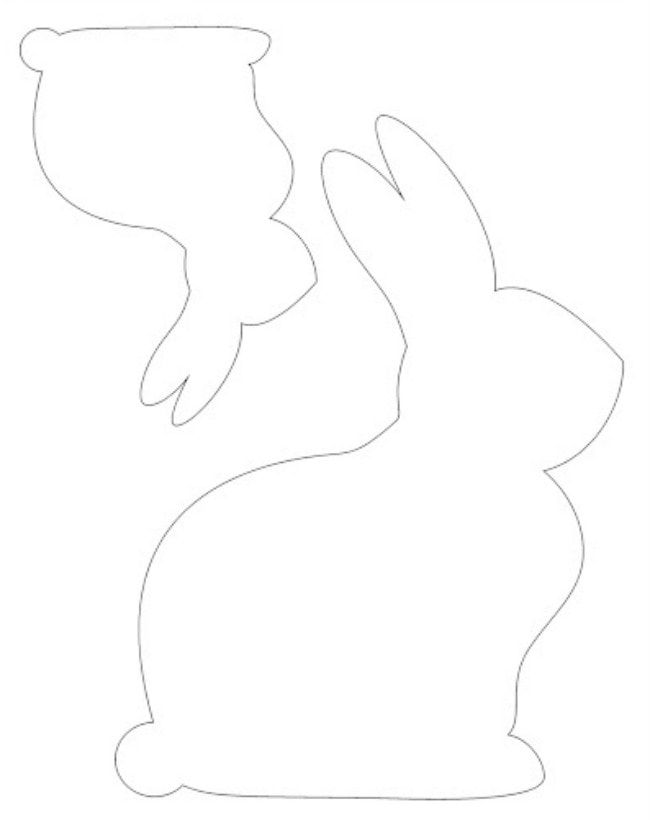
Cut our your burlap bunnies.
Open up your napkin, and with the ironed seam to the left, pin your burlap rabbit to the top of your nicely iron napkin. Sew around the inside of the bunny perimeter. Don’t worry about being too perfect with the stitches- the burlap is very forgiving.
(You’re sewing through 2 layers of fabric)
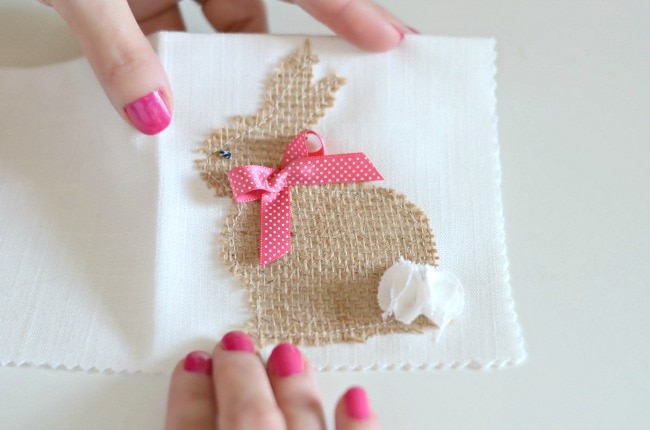
Let’s make bunny tails!
Take your white fabric and cut 4 tiny baby circles for each napkin. I used the bottom of the thread for my template.
Now, fold the circle in half.
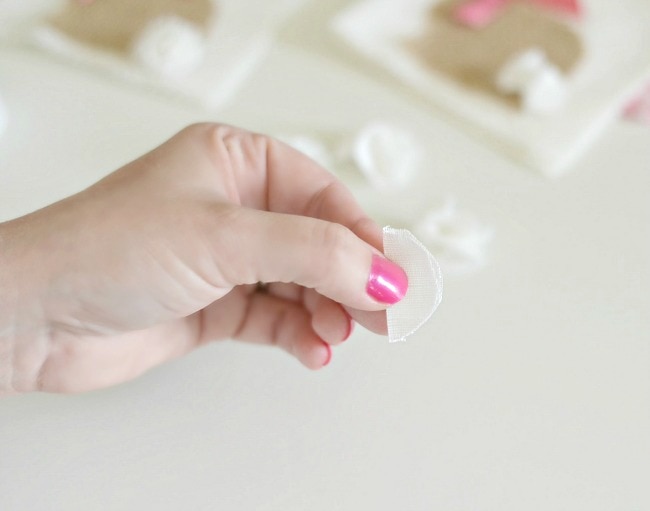
In half again, and pull the threaded needle through the corner of the folded circle.
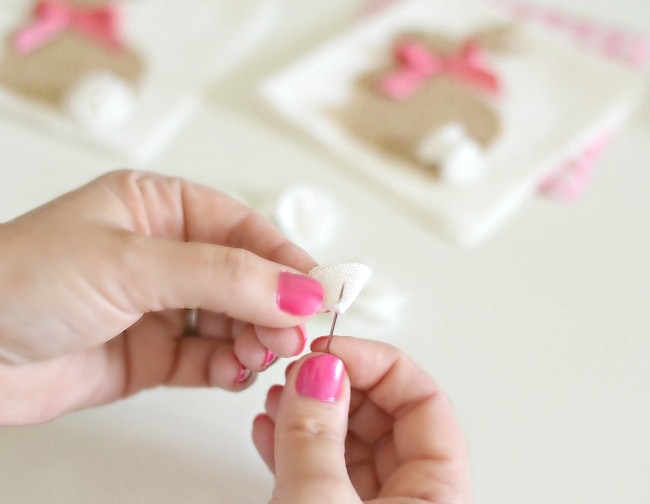
Repeat with the remaining three circles.
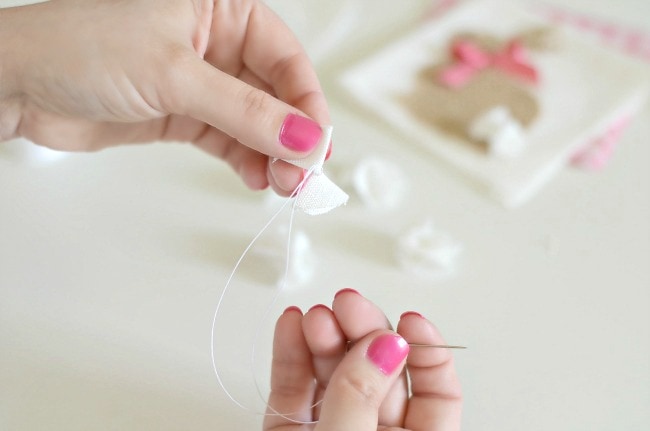
Run the thread through all 4 circles connecting them together and knot to secure. I like to do this twice.
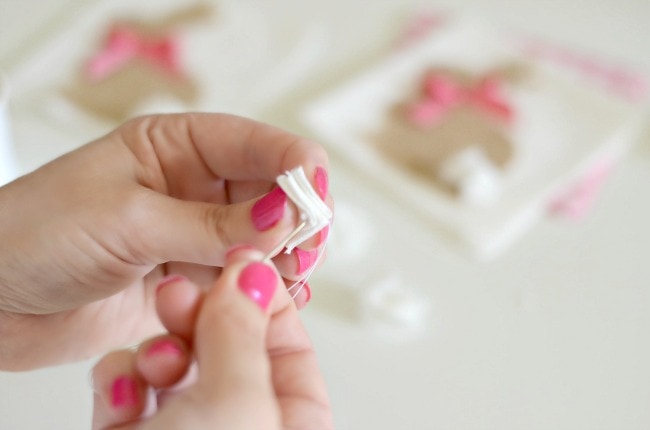
Fluff and set aside!
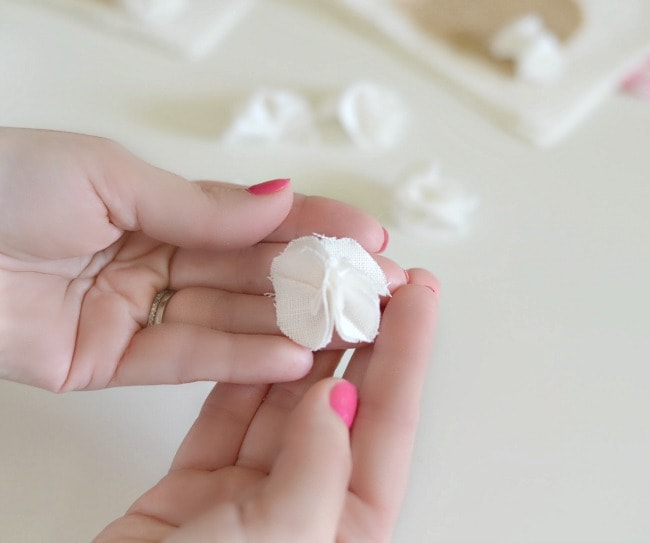
A set of 6 napkins (3 gingham, 3 bunnies) will need 12 circles.
Repeat for each bunny.
Had I had some little black beads, I would’ve used those for my bunny eyes but I did not. I knotted some black bakers twine and I actually really like that a faint hint of the white thread comes through- like a real eyeball!
Tip: for perfectly tied bows for your bunny, loop your ribbon and hand sew a running stitch through the ribbon to create your center.
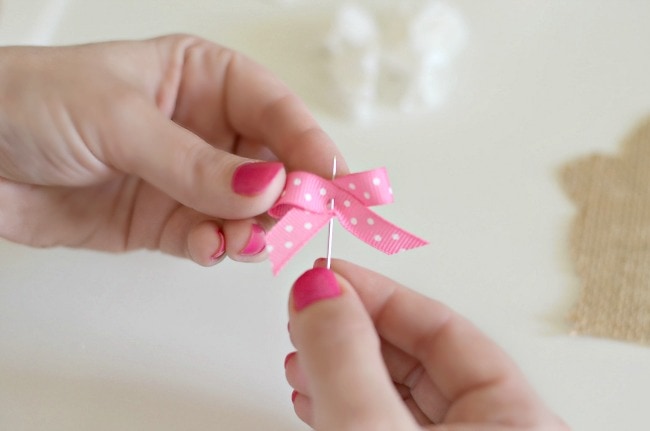
Now, you have your burlap bunny that you have sewn on, and you have your tails, ribbons and eye balls knotted.
Simply hand sew on the bunny tail and the bunny eye.
Add your bow if you want your bunny to be girlie.
All done!
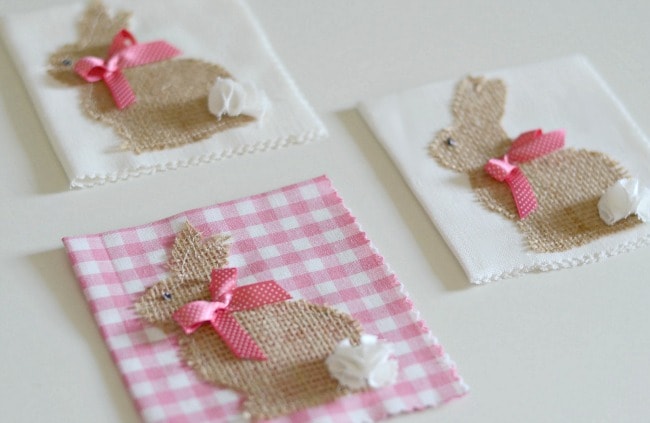
I run the iron around the edges again just to get it crisp again.
Want to gift it?
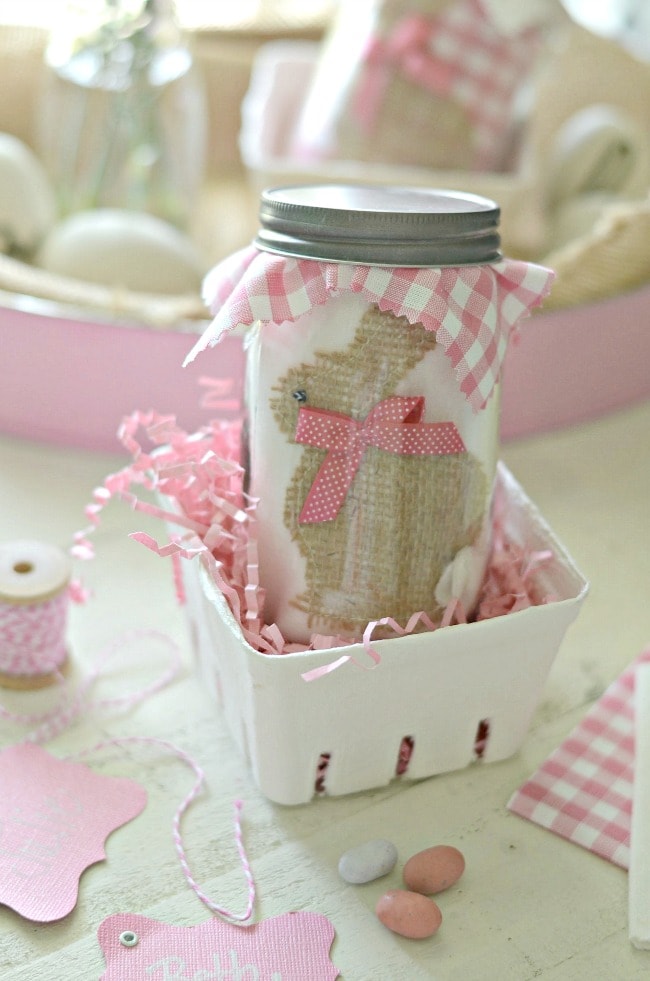
Place one of your napkins in a mason jar, fill the jar with shred and easter candy and the rest of the napkins in a berry basket.
The napkin makes your mason jar look like a bunny!
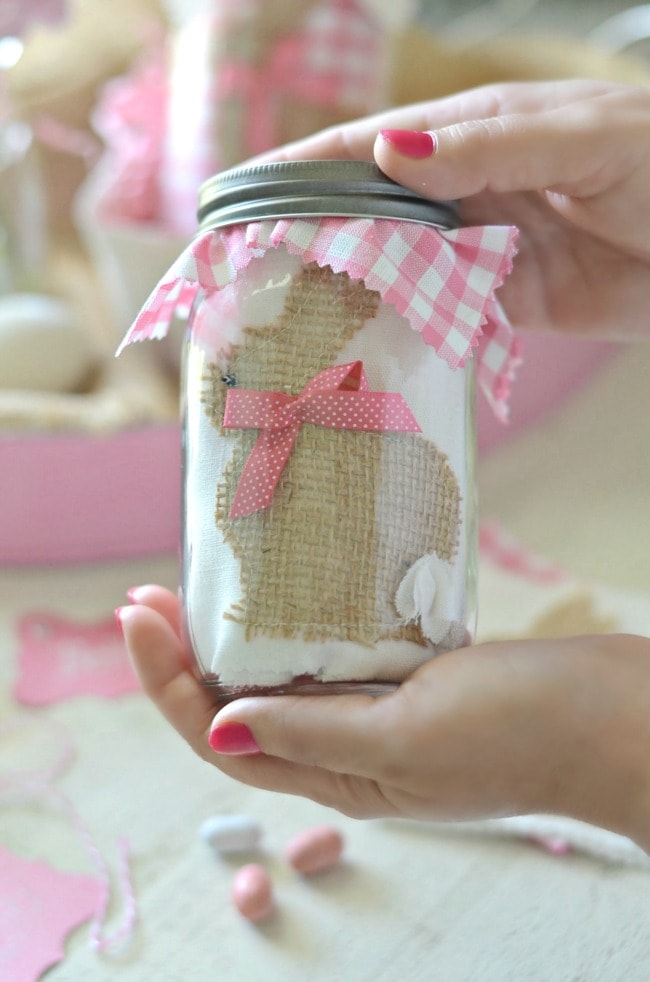
Now, these are more decorative than anything. You want to use your non-bunny napkins for the actual cocktails and leave your bunnies as decor, otherwise your drink will get a little wobbly since your napkin isn’t flat.
Also- don’t wash these napkins. If you get a spill, you’ll want to hand wash only. 🙂
This is one of the most adorable ideas I’ve seen in a long time. Very sweet and creative.
I had totally forgotten about these little napkins! Thank you for your comment and reminding me to go pull them out. xoxo