5 Minute Floral Crown for Dogs
If you’re wondering why I’m sharing a 5 Minute Floral Crown for Dogs tutorial on my food blog, be sure to check out this post where I shared that I’m pivoting a bit and talking about the things that make me happy…even when they are not food.
My Bea makes me happy.
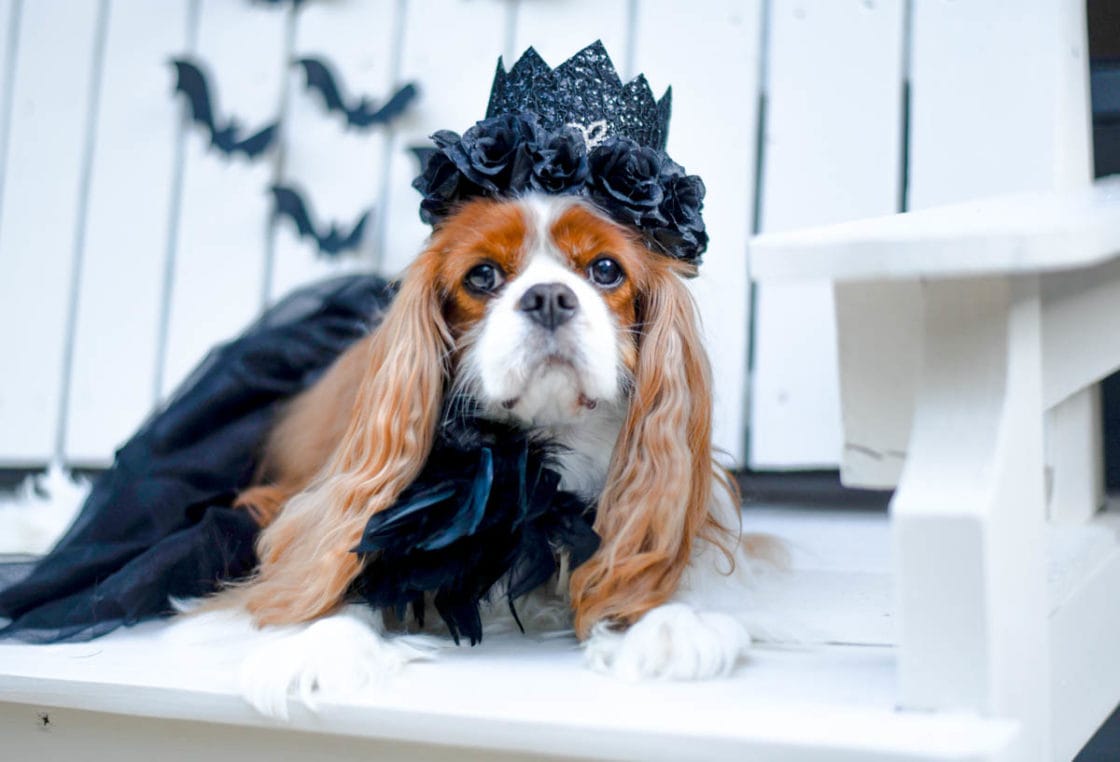
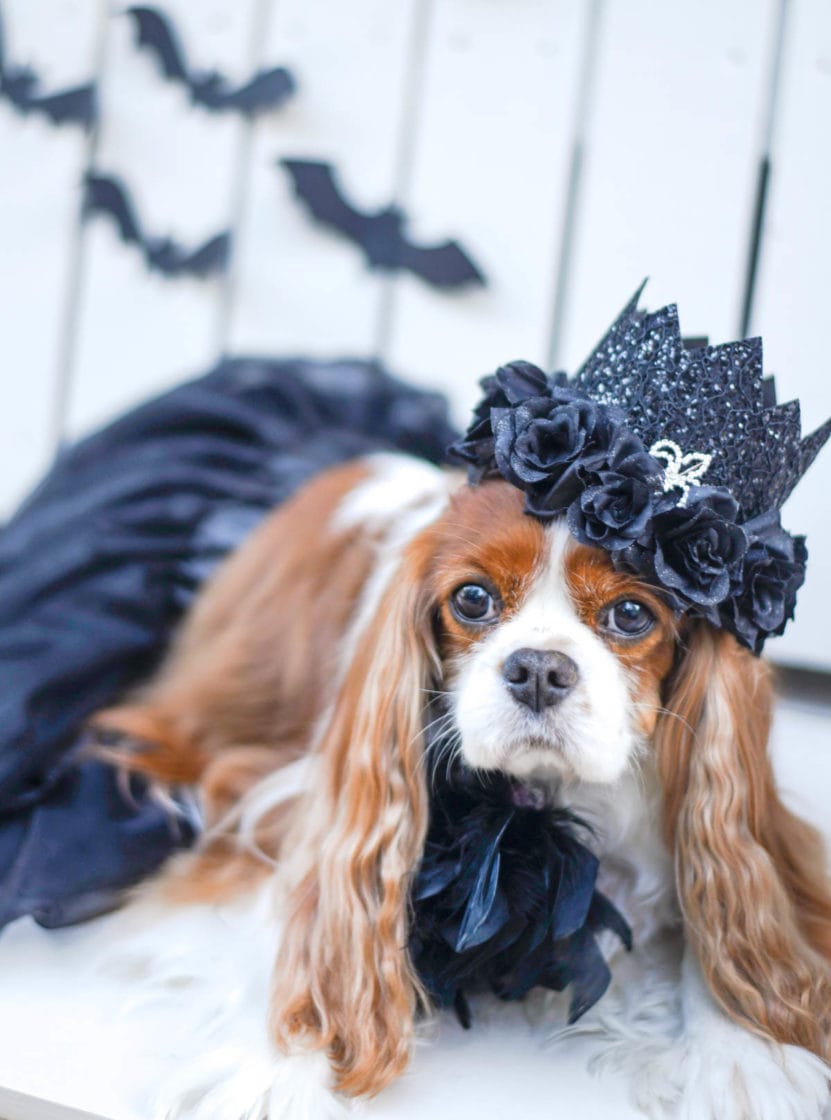
Dressing her up as the Black Swan for Halloween makes me happy.
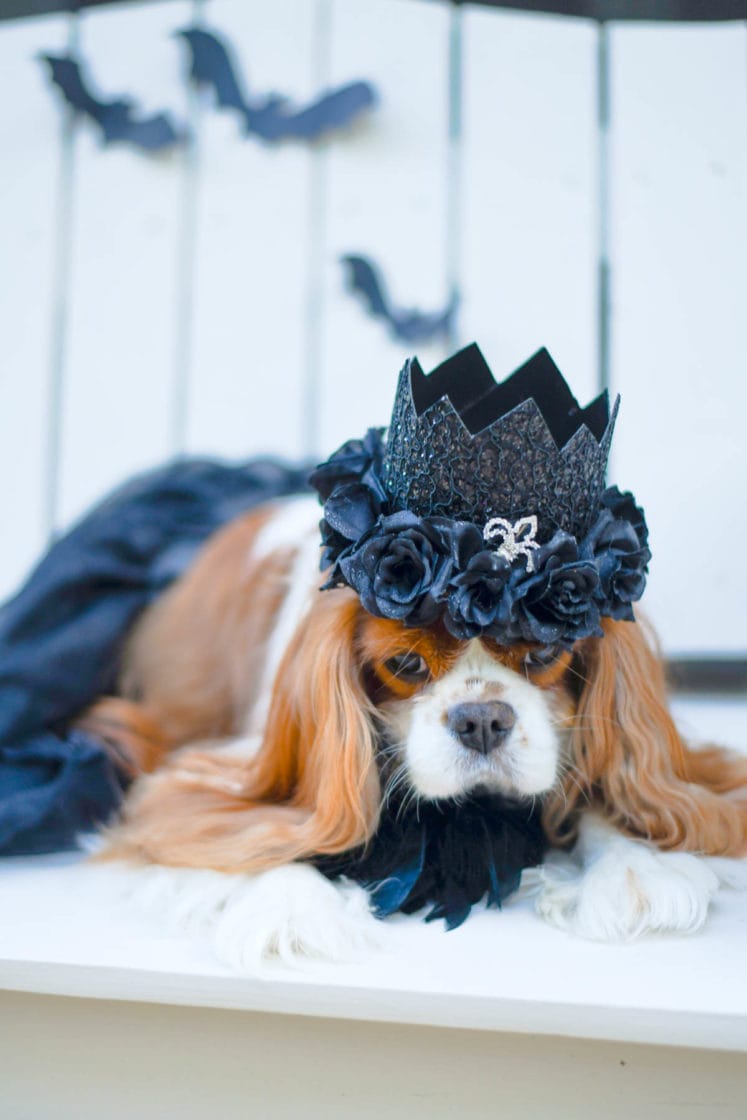
That floral crown on her head? Yep, that made me happy, too.
So much so that I also made her a special one for her upcoming birthday.
Seriously easy and you can have one in every single color in less than 30 minutes (each one literally takes about 5 minutes). I posted Bea on my Facebook page and several friends wanted to know where I purchased her costume and I had to laugh. Minus the time it takes you to go shopping, I seriously whipped this together in less than 30 minutes- for the entire thing.
Because I had searched Etsy looking for a crown prior to making my own, I figured I’d let everyone in on just how easy it was to make so you, too can make your own and not spend $40+ on Etsy for a custom blingy crown.
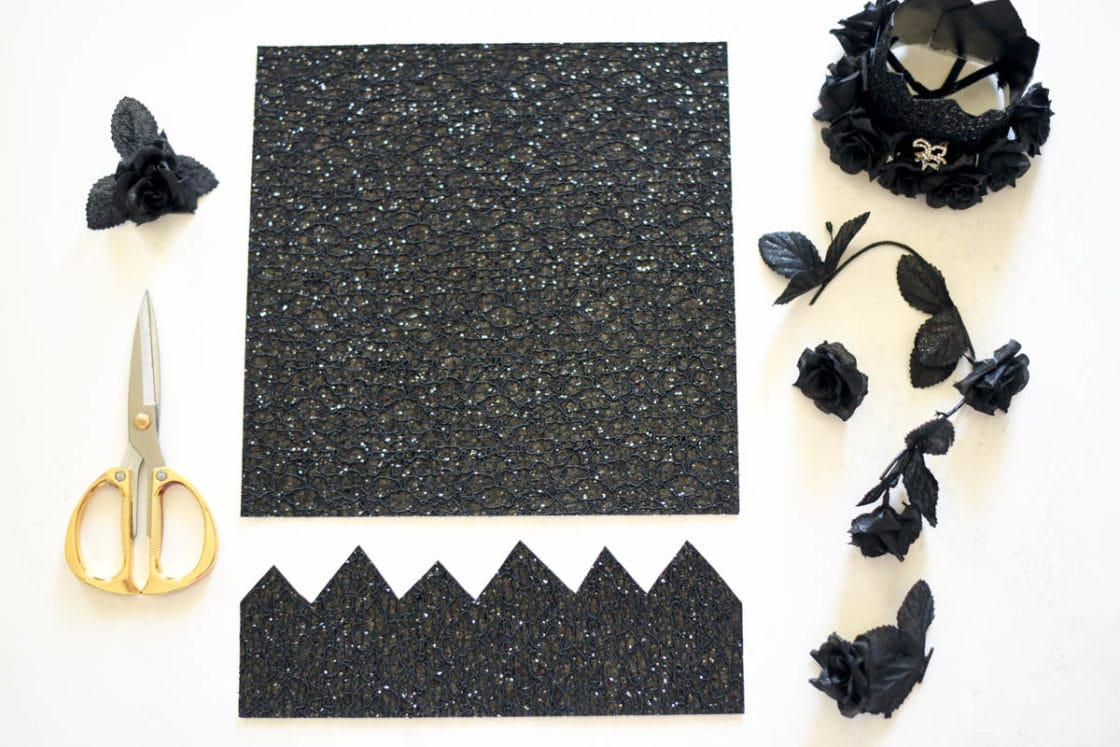
So, let’s get started! I found everything for my 5 Minute Floral Crown for Dogs at Michael’s but I’m sure you can find at any craft store. The key component to the ease of this thing is the sequined cardstock.
Here’s what you need:
Florals
Scissors
Hot Glue
Elastic/Ribbon
*Black Paint (optional)
The black flowers were on a garland found in the Halloween section. You’ll need to remove them for your crown.
- Simply cut the cardstock to the height desired, flip it over and draw the crown peaks on the white side, cut.
- If you’re picky like me, you’ll need to paint the inside of the crown to match the front so in this case, I painted it black. No need to be perfect, it just keeps the camera from catching the white when photographing.
- Hot glue the edges together allowing a bit of overlap to get a good secure with the hot glue.
- Attach elastic/or ribbon to the inner sides of the crown. *I have a tool that creates small holes and I threaded my elastic through the hole, but you can just hot glue that on there, too.
- Hot glue the florals around the base of the crown.
*If your florals have the plastic part that won’t allow the florals to lie flat, you’ll need to remove the plastic and glue each layer down.
(I used my crocodile scrapbooking hole punch tool and inserted the florals into the holes it created and hot glued from the backside, but I do not recommend going out and buying a crocodile for this project. In fact, I’m not sure they even make that tool any longer. )
Optional: If you have some bling laying around like my fleur de lis pin, hot glue that on there too.
Voila.
A floral crown that will stay on the dog’s head even she does not want to participate in your shenanigans any longer.
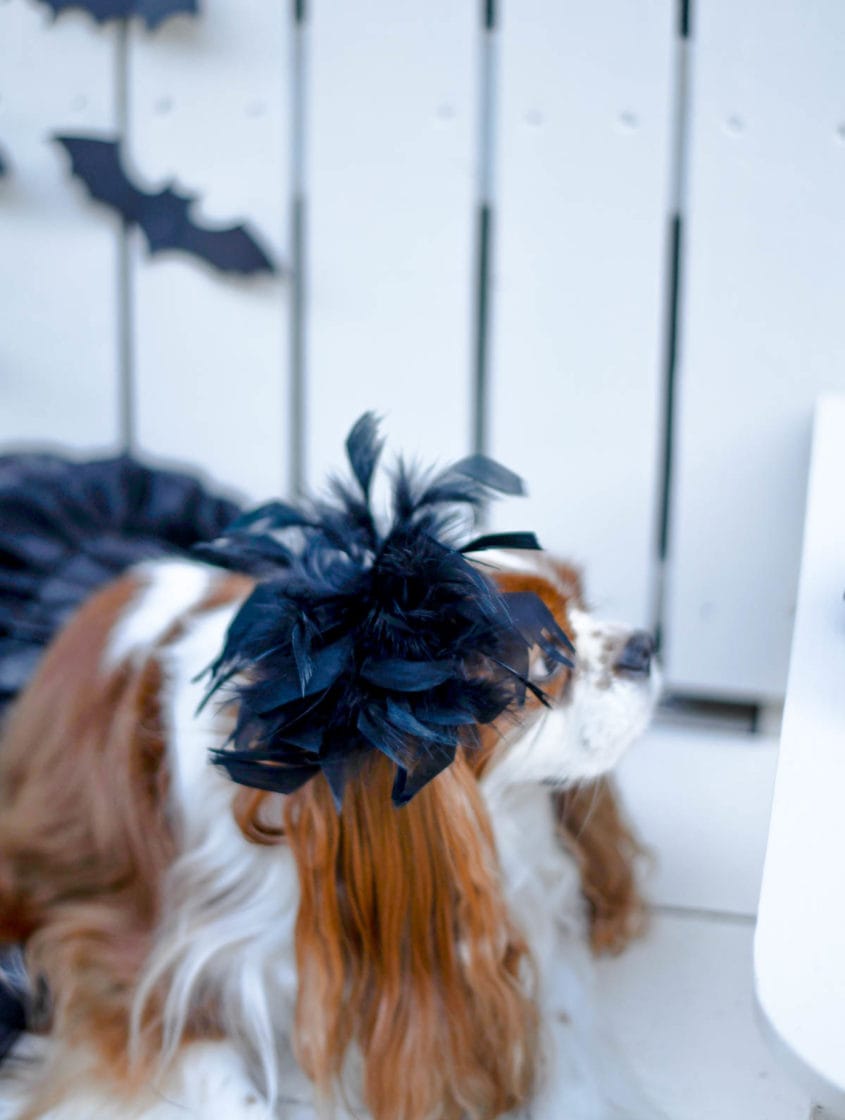
Bea’s skirt is a toddler tutu that I tightened the waistline and attached the leftover leaves from the dismantled garland I used for the crown. The feathers already came on a clip so I just attached to her collar.
Because it’s already on a clip, you could also use the feathers as a fascinator, too!
Easy peasey!
Cannot wait to share Bea’s birthday crown! Fitting for a dog we call “Queen Bea”. <<—- also a spoiler alert as to her birthday party theme.
