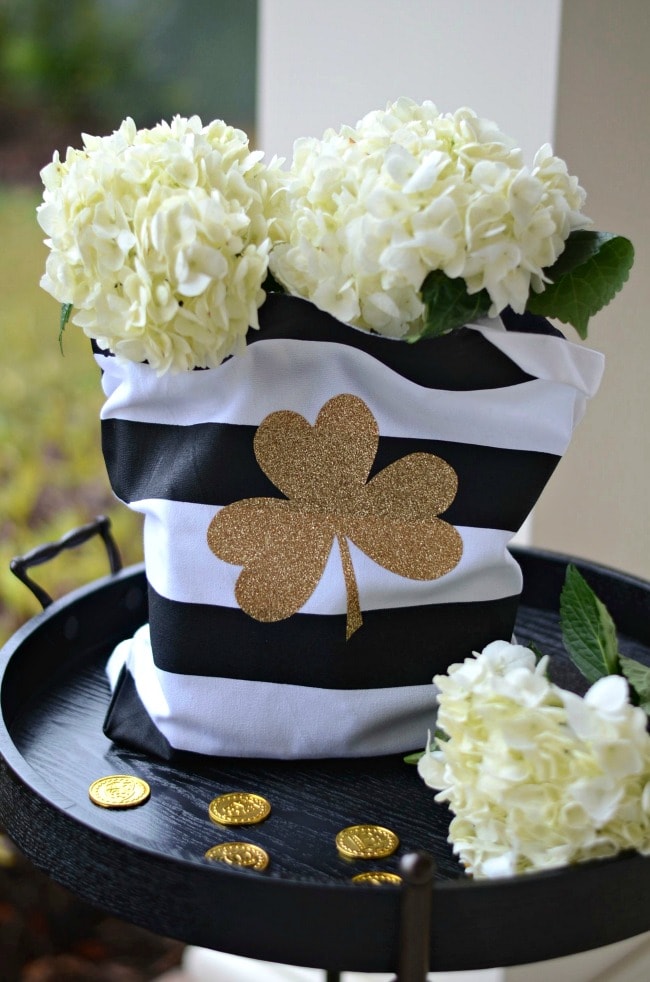
St. Patrick’s Day Tote Bag
Today I have a fun St. Patrick’s Day Tote Bag tutorial that is both functional and cute. Incredibly easy, you will be all fixed up in 10 minutes flat! 20 minutes if it’s not warm where you are.
Here in Baton Rouge, our St. Patrick’s Day parade keeps getting bigger and bigger. We have friends who live right off the parade route who host an annual parade party making it super convenient and a lot of fun. If you’ve ever been to a parade without something to contain your beads, toys and other loot however, it most likely serves as a yearly reminder to never leave home empty handed prior to a parade again.There’s nothing quite like catching a zillion beads, a million plastic cups, being hit with an entourage of Irish Spring soap and not having anything to hold it all.
I’m pretty picky about what I choose to keep so my bead bag doesn’t need to be all that big. I like to hang onto the “pretty” beads for projects later in the year and there’s something so peculiar about catching a coveted plastic cup that will make you feel like you’ve accomplished something spectacular. A plastic cup that just gets tossed out when you spring clean your cabinets and realize you don’t need 20 of them.
You’ll need the following:
canvas tote bag (Hobby Lobby)
black paint (suitable for fabric- I used Martha Stewart ), paint brush
painters tape
glitter iron on transfer paper
I used a piece of white poster board to lie underneath my tote bag. I’m what you call a messy crafter and I didn’t want paint getting all over my new craft desk. It also allows you to place your painters tape directly on the surface. I find that taping down the tote bag helped me make sure everything stayed in nice and neat little lines.
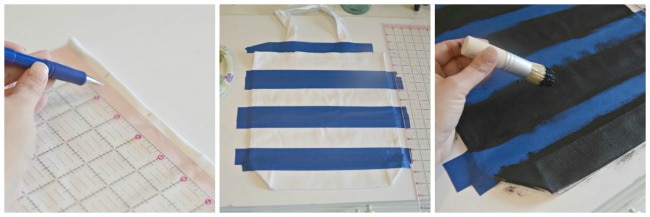
To measure your stripes, simply decide on how thick you want them to be and use a ruler to measure off each stripe. Mine are 1.5 inches. Use your painters tape and apply to it to areas where you want your stripes to remain white.
Now paint all your exposed areas with your accent color. I used black but you use whatever you’d like.
I used my Silhouette to cut out my shamrock, but don’t stress if you don’t have a cutting machine. You can still purchase the glitter iron on adhesive. Just find yourself a shamrock stencil and cut the shamrock yourself.
Once you’ve got your shamrock cut out, you’re good to go once your bag is dry.
Once the bag is dry, flip it over and use those extending parts of the blue painters tape a guide for your stripes on the backside. Now, you can totally skip painting the backside if you want, but if you’re like me like me you’ll probably be annoyed that you have an ugly backside of your tote.
Tape it off, paint it, wait for it to dry.
Once dry, remove all painters tape from both sides.
Place your shamrock where you want it and follow the instructions on the packaging for the iron on adhesive. I was supposed to flip my shamrock but I forgot and decided I didn’t care that it was leaning the wrong way.
Marvel at your bead bag!
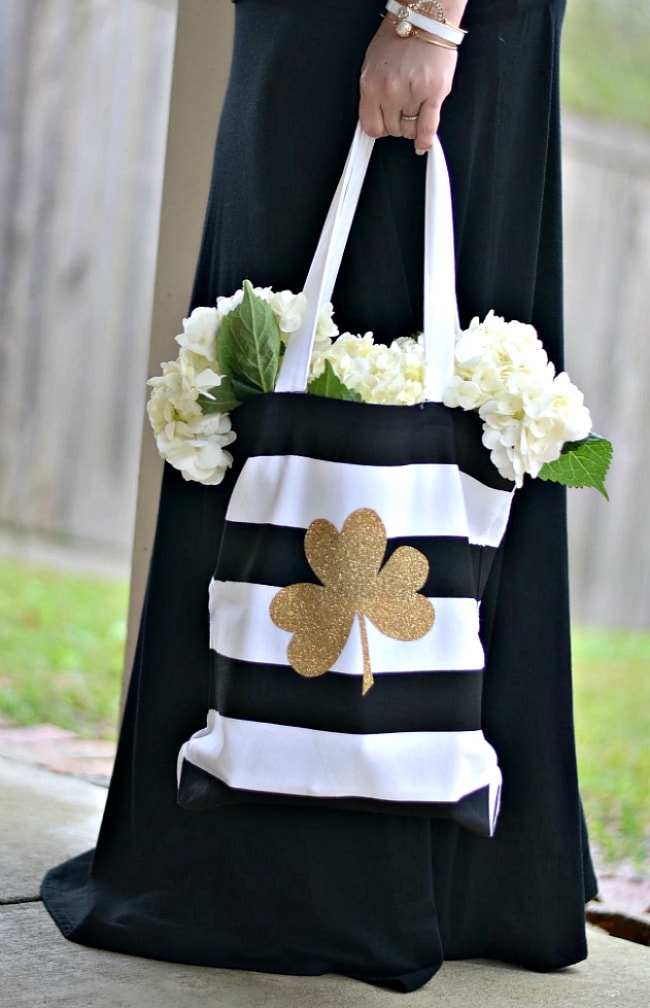
Fill it up with treats and snacks for your friends and head to the parade. Or, take it around town and use it as a flower bag. Whatever floats your boat!
Don’t be surprised if get some compliments along the way.