DIY Wine Cork Serving Tray
Today’s DIY Wine Cork Serving Tray has been compensated by Collective Bias, Inc. and its advertiser. All opinions, however, are mine alone. The following content is intended for readers who are 21 or older. #VinoBlockParty #CollectiveBias
Two years ago, on a whim, I purchased no less than 200 wine corks from an antique shop. They were .50 a bag and for about $5.oo total I had enough wine corks to sink a ship. Unfortunately, during the process of building our house those bags of wine corks got tossed in a box and forgotten about. Forgotten about until…..I noticed my neighbor’s patio coffee table had a wine cork insert. Beneath the glass, there was rows and rows of wine corks. I was smitten. I spent the next 2 days searching my house high and low and finally discovering my massive amount of wine corks in a box tucked in the corner of the garage. I knew immediately I wanted to make a wine cork serving tray to display on the countertop of our new outdoor kitchen (I’ll share more about the kitchen once it’s all wrapped up and the patio furniture arrives next week!).
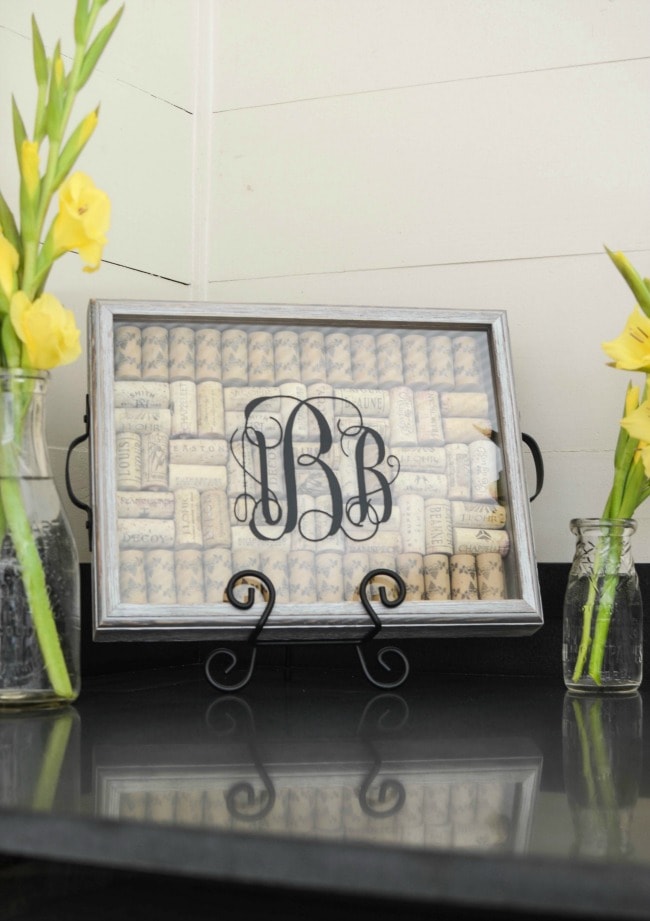
Making the Wine Cork Serving Tray was so seriously easy, y’all! I was done in about 30 minutes.
To create a DIY Wine Cork Serving Tray of your own, you will need:
A wooden shadow box (wood because you’re going to drill into the sides)
2 metal handles (got mine from Home Depot for less than $2 each)
Gorilla Glue
Wine Corks (depending on the size of your shadow box, about 60-70)
Note: I used Gorilla Glue because I knew I’d be leaving the wine tray outside. It’s so unbelievably humid here I worried that hot glue wouldn’t hold up, however, you could certainly use it instead if you’re keeping your tray indoors.
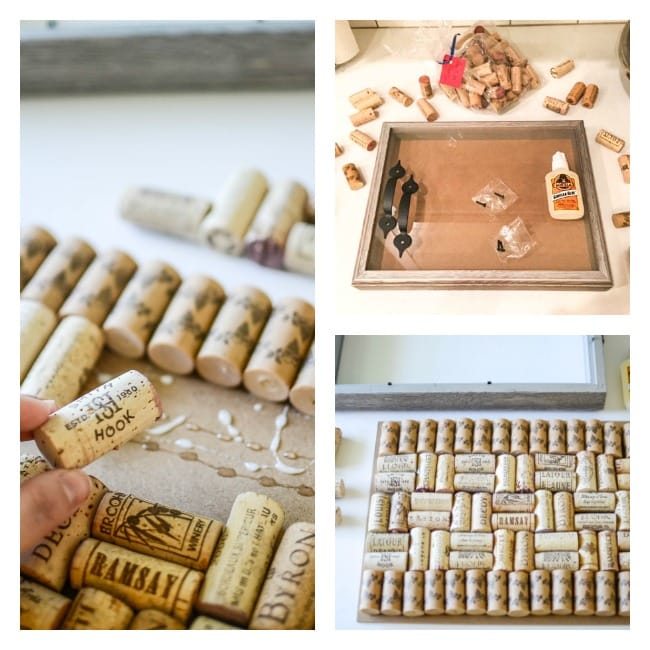
Start by drilling holes into the sides of the shadow box and attaching your metal handles.
Simply remove the backing from the shadow box and use it as your guide to began creating your pattern. Be sure to check the indentation of the frame. For my shadow box frame, I needed to leave a bit of room on the edges of the backer board in order to slide it back in.
Apply your adhesive and glue, glue, glue!
Once it’s nice and dry, replace the backing. You could stop there, OR, you could monogram your tray.
We all know my philosophy, “if it sits and the monogram fits….”.
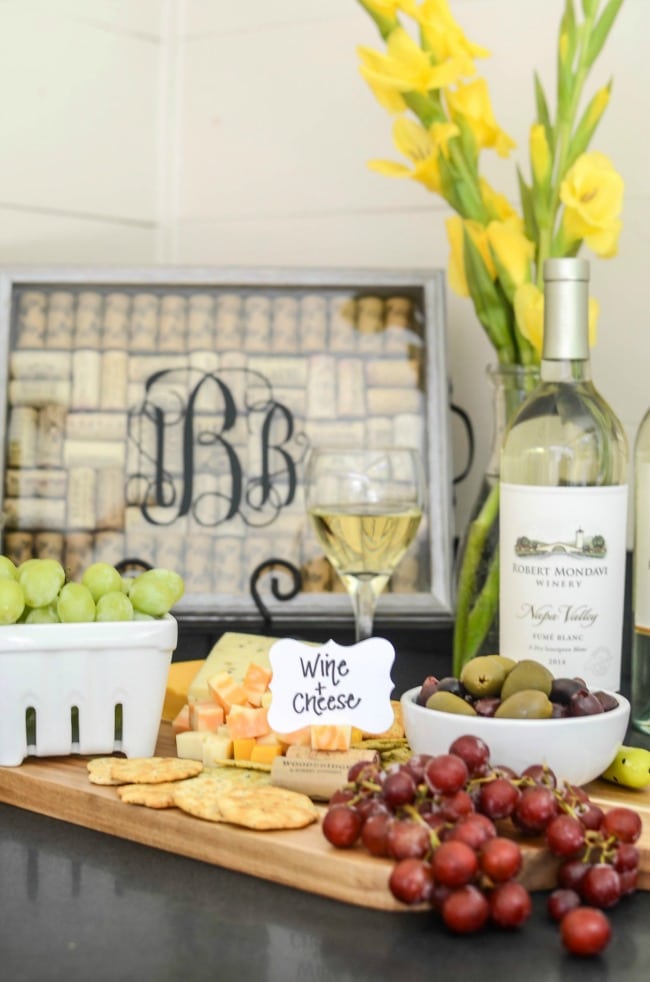
Voila.
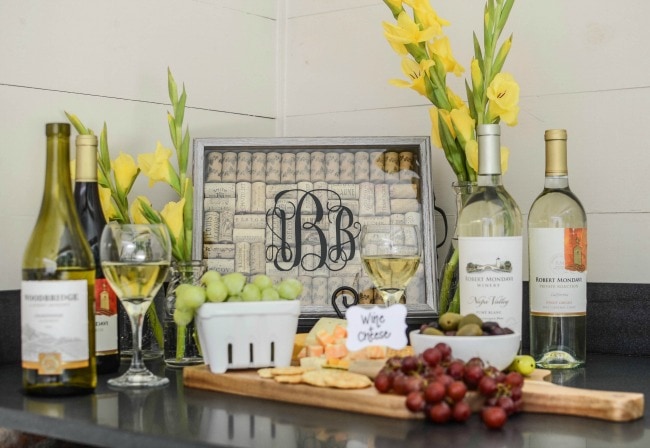
Naturally, a Wine Cork Serving Tray is more fun with friends so grab yourself some wine and invite your neighbors over for wine, cheese, and a peek at your handiwork.

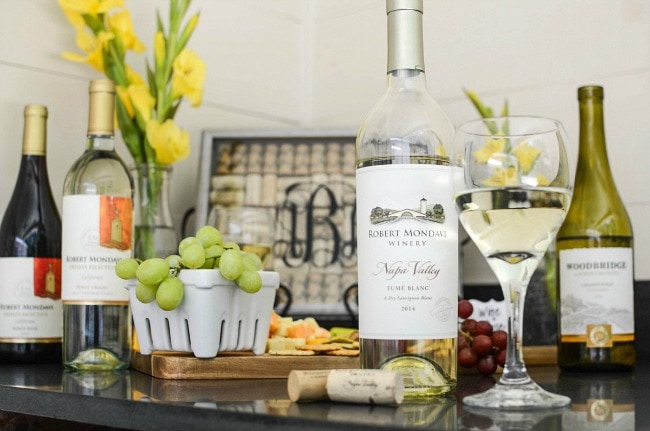
I picked up several different varieties of Woodbridge wines by Robert Mondavi. Chardonnay, Cabernet Sauvignon, Pinot Noir and Sauvignon Blanc. Basically, something for everyone.
The Woodbridge brand has been around for 30+ years and whose primary focus is to create wine made for sharing and connecting with others. I find that you can find it for purchase just about anywhere and love the convenience factor and large selection.
They even have a Simple Entertaining Social Hub website full of recipes and entertaining ideas to spark your next gathering. Be sure to look for my Wine Cork Tray there and wave hello to it.
Just joking… I don’t think that’s an option but definitely check out the website.

And if you need an appetizer that is sure to please, check out these Handheld Mini Cheeseballs that pair phenomenally with white wine. So, so good and incredibly easy, too.
- 8 ounces cream cheese, softened
- 4-5 slices bacon, crisply cooked and crumbled
- ½ bunch green onions, chopped
- 1 teaspoon Worcestershire sauce
- 1 teaspoon garlic powder
- salt and pepper, to taste
- 1 cup pecans, chopped
- 1 bag pretzel sticks
- Beat the cream cheese in a mixing bowl until creamy and smooth. Add in the bacon, green onions, Worcestershire, garlic powder, salt and pepper. Chop the pecans and place onto a single layer on a cookie sheet. Using a mini cookie scoop, drop the rounded balls of cream cheese into the pecans, rolling to completely cover. Place a single pretzel stick into the center of each cheeseball. Chill in the refrigerator until ready to serve- at least a couple of hours to allow the cream cheese to re-harden. Serve with assorted party crackers, or additional pretzel sticks and garnish with a bit more green onions. Makes approximately 10-12 mini cheeseballs.
Cheers!

